
5 yoga moves for tennis players
By Gwen Lawrence | Aug 31, 2016
Special to espnW
Each month, yoga coach Gwen Lawrence shows us the best poses for athletes. This month: How to increase stride, power and strength for a better tennis game.
Tennis requires intensity in the core, strong, stable shoulders and arms all the way down to the wrists, and explosiveness in the lower body. The sport can also create severe imbalances — so these poses are aimed to both strengthen and realign your body. (As always, consult a doctor before you begin any new exercise program.)
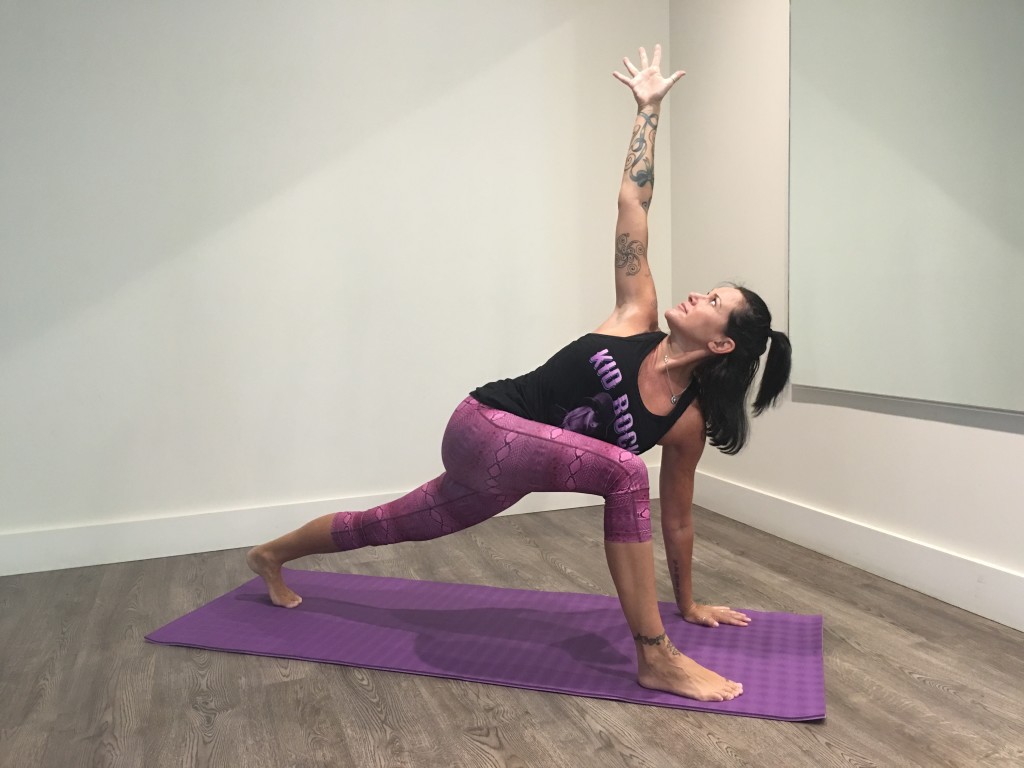
Lunge twist
Gwen Lawrence
It’s critical for tennis players to have full range of motion in the spine and chest. This pose will help you develop both, as well as deepen your focus and balance.
Keys to the pose
* Lunge forward with your right leg and let your left palm press into the floor directly below your shoulder.
* Push the floor away with your left hand and twist to the right, looking up at your right hand.
* Gently rotate your chin over your right shoulder.
* Your right knee should be at a 90-degree angle.
* Lengthen the left leg, and at the same time, extend through the top of your head.
* Hold for 30 seconds, elongating on the inhale and rotating deeper on the exhale. Then switch sides.
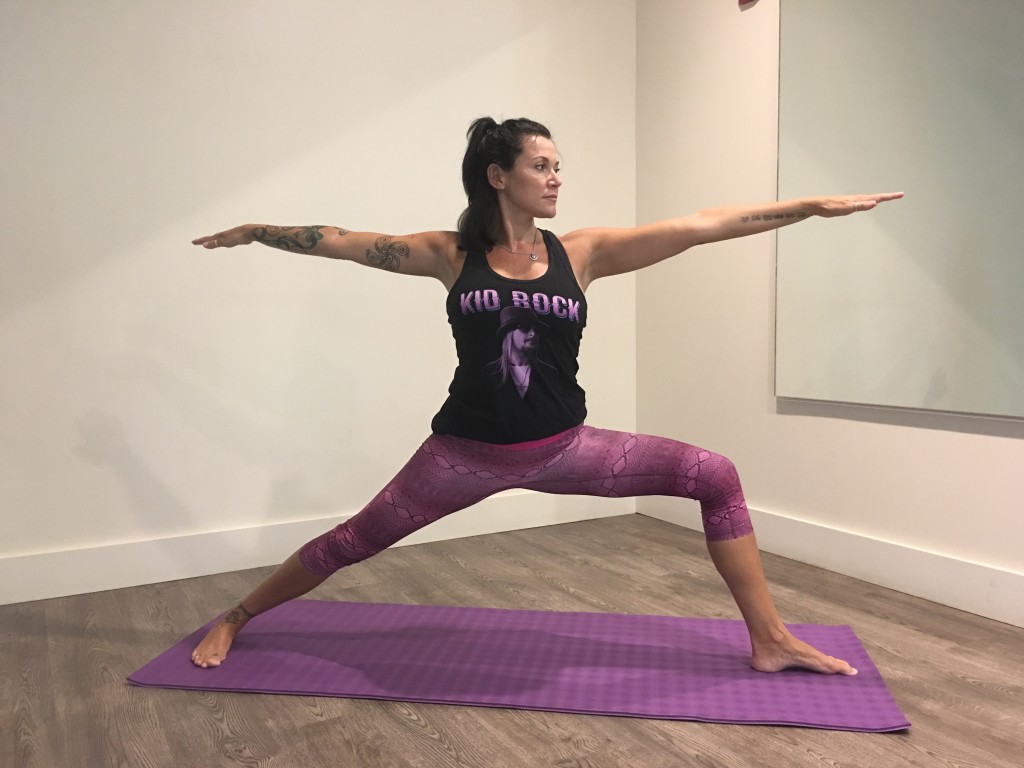
Warrior II
Gwen Lawrence
Warrior II strengthens the muscles you’ll use when lunging for the ball and increases mobility in the hips.
* Start with your feet about 3-4 feet apart, parallel to each other.
* Turn over your left foot so it’s in front, with toes facing inward at about 45 degrees. Your right foot should be pointing out to the front of the mat.
* Bend your left knee 90 degrees and be sure you are tracking that knee over your toes.
* Keep your right leg strong and straight.
* Extend your arms out fully, with elbows straight and arms shoulder height.
* Hold and breathe for 30-60 seconds, then proceed to the other side.
Hero’s pose
Gwen Lawrence
Flexible quadriceps are essential to any tennis player. To avoid muscle pulls, stretch your legs with this pose every day.
* Start on your hands and knees. Then, slowly, with your toes untucked, sit back on your heels. (If you have knee problems, roll a towel in behind your knees before you sit back.)
* In time, you should be able to start to sit on the floor between your feet and heels.
* Tuck your tailbone under to avoid unnecessary pressure on the low back.
* If this feels OK, you can start to recline back until — one day — you are lying completely on your back.
* Go slow with this pose and be mindful about how your joints feel. Breathe and hold for 2-3 minutes.
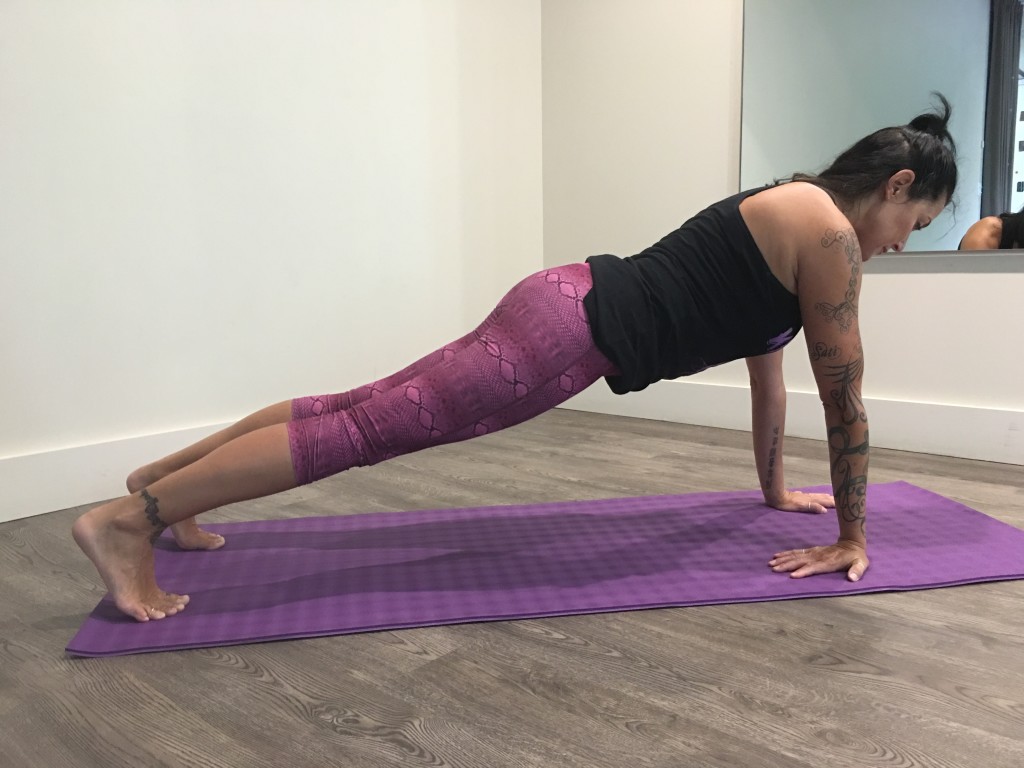
Plank wrist opener
Gwen Lawrence
As all players know, great grip strength and healthy wrists are essential. This pose targets both, and at the same time improves your core strength.
Keys to the pose
* Start on your hands and knees. Be sure your hands are flat on the floor, fingers spread evenly and your wrists are directly under your shoulder joints for best support.
* Step your feet back until your legs are straight, like the top of a pushup position.
* Tuck your tailbone under to protect your back, and be sure your body is in one straight line from your heels to the top of your head.
* Hold for one minute — and every 20 seconds, turn one wrist 180-degrees for a full stretch.
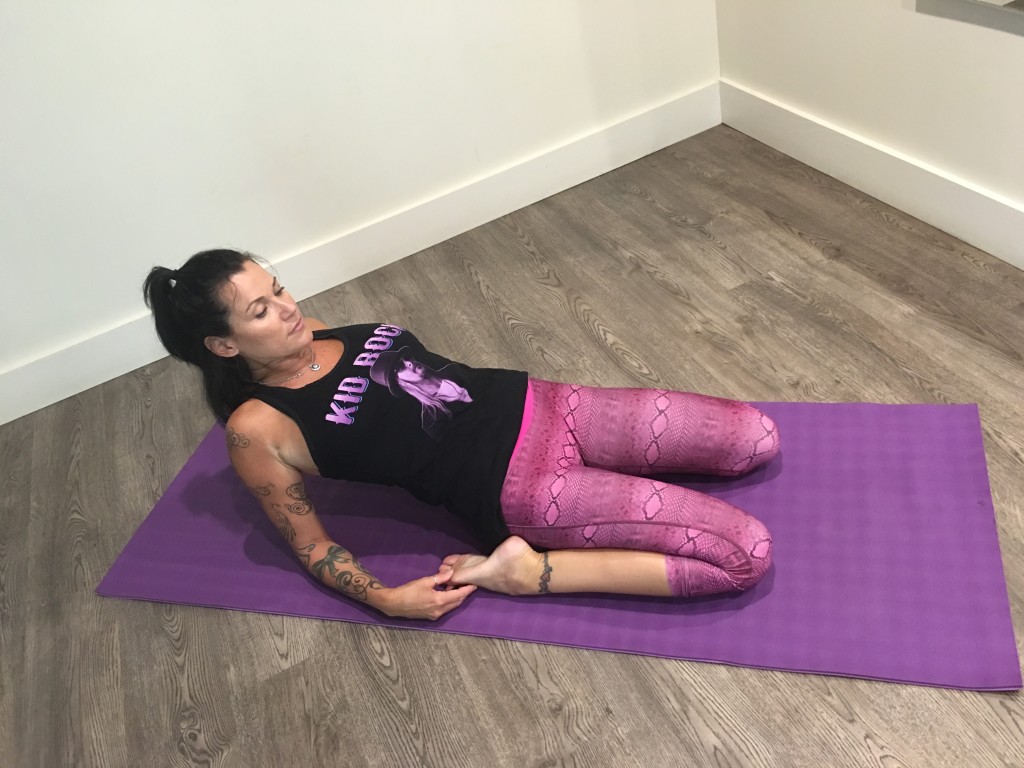
Wheel of life
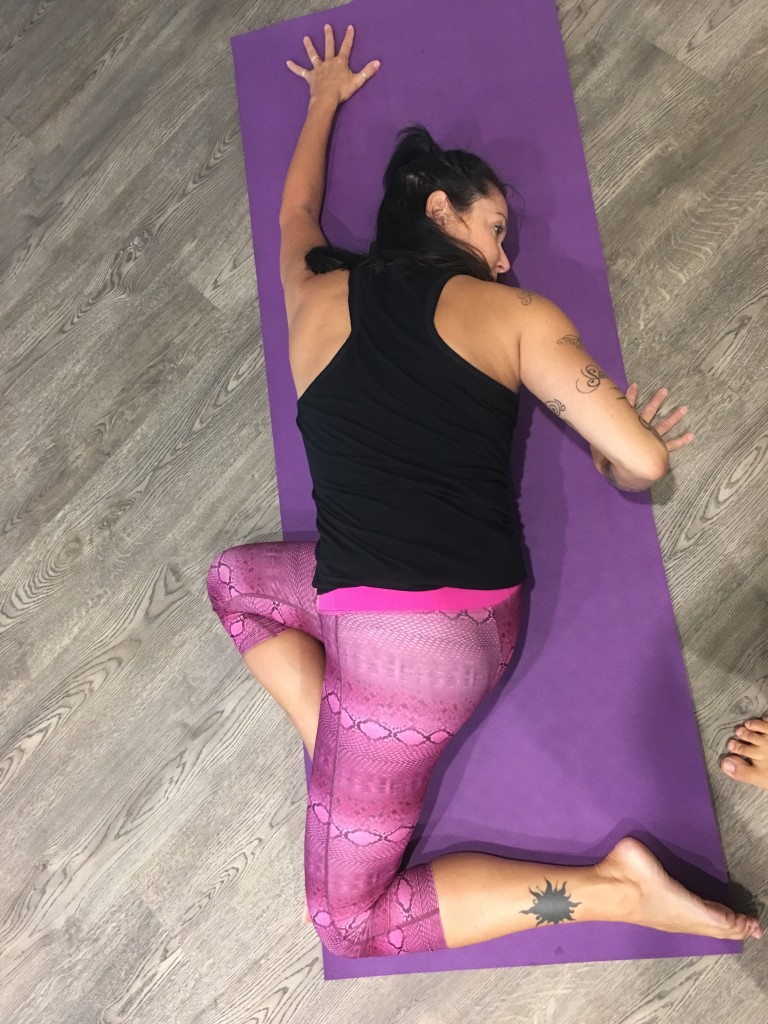
Gwen Lawrence
An all-around opener for the spine, hips, IT bands and neck, this pose may well become your best friend. Be sure to relax into it and aim to be equally flexible on each side.
Keys to the pose
* Leaning on your right hip, turn your torso to the right as far as you can. Place blocks under your chest and left ear.
* Use your right hand to encourage the left side of your body closer to the ground on every exhale.
* Be mindful that you are heavy on the blocks. Release, and relax for 3-5 minutes.
* To come out of this pose, bend both elbows like a pushup, on your exhale. Use your arm strength to come upright and unwind. Repeat on the other side.